Help->Just
Do It!->Step-By-Step Guide
This guide presents the basic steps of using DVD Photo Slideshow Maker to create
a DVD. More detailed information can be found from the corresponding links.
Step 1: Create a new project
Click "New" to create a new project. More...
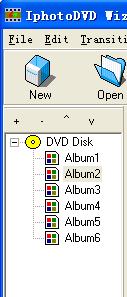
Step 2: Add albums
Click
"+" from the "Editorial Shortcuts"
to add a new album,
Repeat step2 to add more albums to the project, to edit and arrange the albums, please refer to more info.
Step 3: Add photos to every album
Check "Image" from Image/Audio Transform, click "Add" from the "Editorial Shortcuts" , search and select the wanted photo or photos, then click "Open", then repeat until all the wanted photos are added. More...
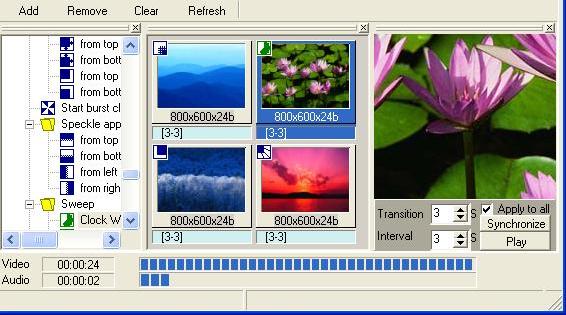
Step 4: Select transition effects
Select the transition style
from 'Transition Effect List" for each photo by clicking the photo then
the desired transition style. The default is no effect. Refer to the screenshot
below. More...
Step 5: Add background music to every album
Check
"Audio" from Image/Audio Transform,
click "Add" from the "Editorial Shortcuts",
search and select the wanted audio, then click "Open" from the
above window, then repeat until all the wanted audio are added. More...
Repeat step 3~ 5 until you have completed for all albums,
Step 5: Create DVD
Now you are ready to create a photo slideshow DVD. Click the button  to open a 'Create DVD' form.
a. Set DVD mode and screen aspect
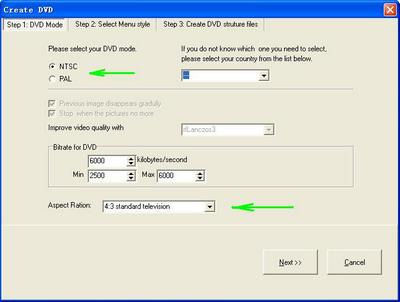
Choose
DVD mode, if you do not know which you can choose, please click the drop down
menu on the right, select your country.
Choose TV
aspect ration. (4:3, 16:9), then click
í░Next>>í▒ to
b.
Select menu style
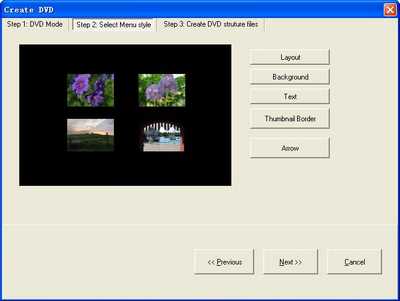
Click
í░Layoutí▒ to set menu layout
Click
í░Backgroundí▒ to set menu background
Click
í░Textí▒ to add text to menu
Click
í░Thumbnail Borderí▒ to set thumbnail (each album displays on DVD menu)
border
Click
í░Arrowí▒ to set the arrow (if the number of albums is more than a page,
there will be the arrow for the navigation from page to page)
Click
í░Next>>í▒ to
c.
Create DVD structure files
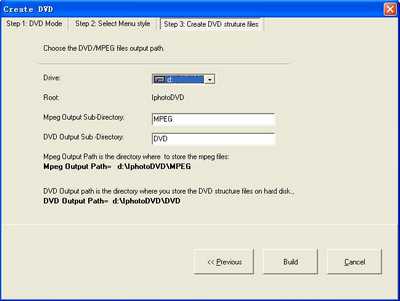
You can select the drive í░C:, D:.í▒,
normally you have to choose the drive with enough free hard disk space.
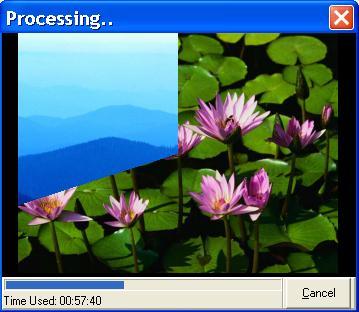
Click í░Buildí▒ to start image conversion
and DVD authoring, when the process has been completed, it displays window
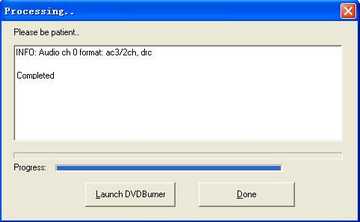
Click
í░Launch DVDBurner í░ to
Step 6: Burn DVD
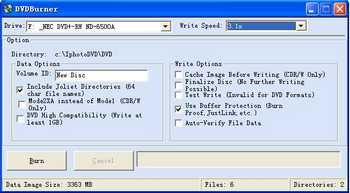
Insert a blank DVD ¿CR/+R
to DVD Re-writer and click í░Burní▒ to start the burning.
Then OK, you have created a DVD photo slideshow.